I love healing skin salve. I use it on every part of my body. My husband and son use it on their bodies. We slather it on after we bathe, before bed, when we get up in the morning or when we go out in the sun, rain, wind or snow.
What is Healing Skin Salve Used For?
We put healing skin salve on any part of our body that is red, sore, itchy, dry, cracked or uncomfortable.
We also just rub it on to moisturize and nourish ourselves.
A little salve is like applying a Band-Aid of love. You can kiss the “owie” and then tap it with a little bit of salve to make it all better. I love salve.
I know, what an image of a greased up family! Truth is, when our skin is nice and moisturized, we feel better and therefore are nicer to each other. Ha ha. No, really!
Did you know that moisturizing the skin calms your nerves? Keep Calm and Use Salve!
You are cordially invited into the sensational world of diy healing skin salve making.
Salve, a source of self-empowerment that frees you from hundreds of products and gimmicks because you know just how healing it can be.
Salve, a place where you feel connected to a remedy that you fashioned with your own heart and hands.
Salve. Wherever you go, you carry the generosity of a personal medicine that can help with more than you ever imagined it could help with. You offer simple assistance in a complicated world.
Why do I love healing skin salve so much?
Is it because I have always loved plants and flowers? Is it because I was just smitten with the idea that I could make something myself that could help people? Is it because I love to experiment and mix things together?
I admit, I was the mud pie making child. We lived directly above a creek that ran swift and wide in the winter. The banks of the creek were my childhood playground. I constructed every concoction possible with mud, sand, roots and creek muck. The consistency of salve is a little like creek muck, don’t you think?
When I was introduced to the wonderful art of working with my garden to bring healing to my family, there was no turning back. I had an insatiable thirst to learn everything I could about herbal remedies.
My parents insisted that I finish college, so I did. They thought I was going to get a real job after they paid for 5 years of university. Instead I became a self-ordained fanatic salve maker. Ha ha.
Anyway, sort of the long way of saying that I hope that you enjoy this simple healing skin salve recipe. It is infused with many years of comfort and healing that is now yours to share.
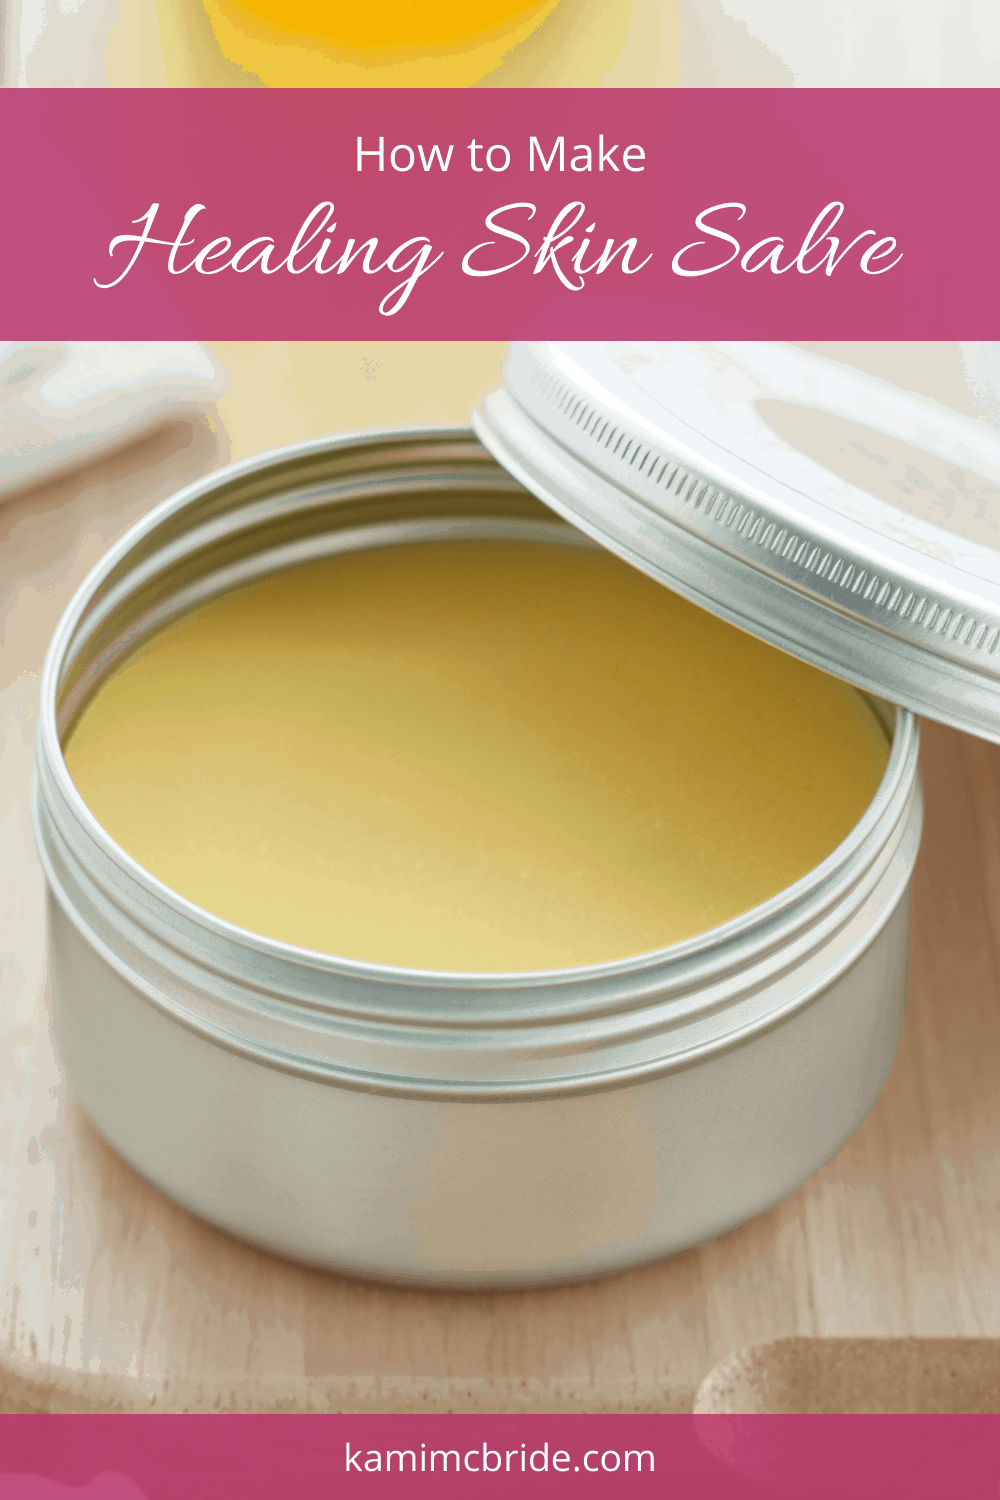
DIY Healing Skin Salve Recipe
Ingredients
- 1 tablespoon grated beeswax or beeswax pearls (available at Mountain Rose Herbs)
- 1 ounce olive oil by volume (measured in a measuring cup)
- 8 drops lavender essential oil
Supplies
- Double boiler or 2 stainless steel pots
- Measuring cup
- Spatula
- Salve container(s)
- Label
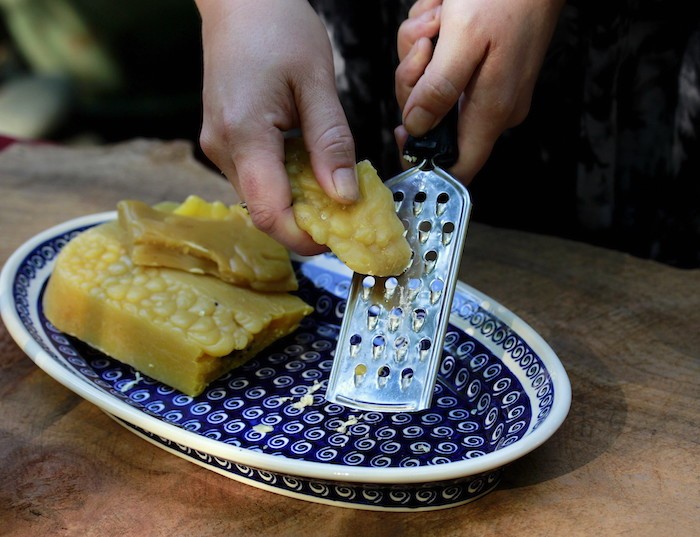
1. Grate the beeswax into medium shredded pieces. Think of when you grate cheddar cheese, if you use the smallest holes on the grater, it just gums up the grater. Use the medium holes just like you would if you were grating cheese. You can grate the beeswax with a cheese grater or purchase the beeswax already cut into small pearls.
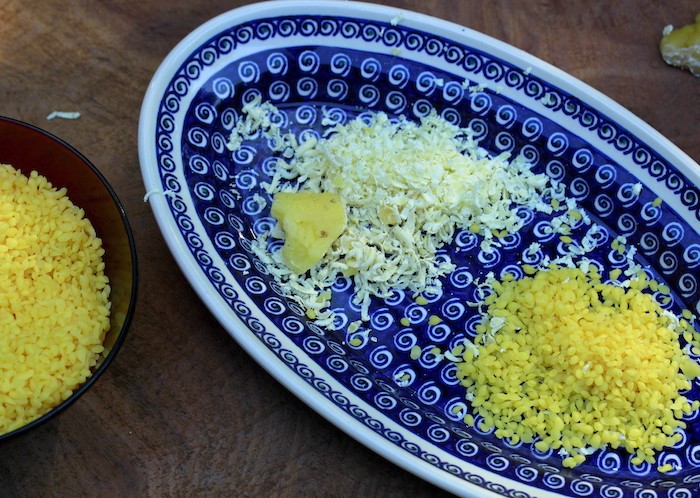
2. The beeswax pearls are denser than grated beeswax, so the measurements vary depending on which type of beeswax you add. I use a heaping tablespoon of grated beeswax to a scant tablespoon of beeswax pearls. Basically, my recipes are made for home grated beeswax, so just use a little less if you are going to use the already prepared beeswax pearls that can be purchased.
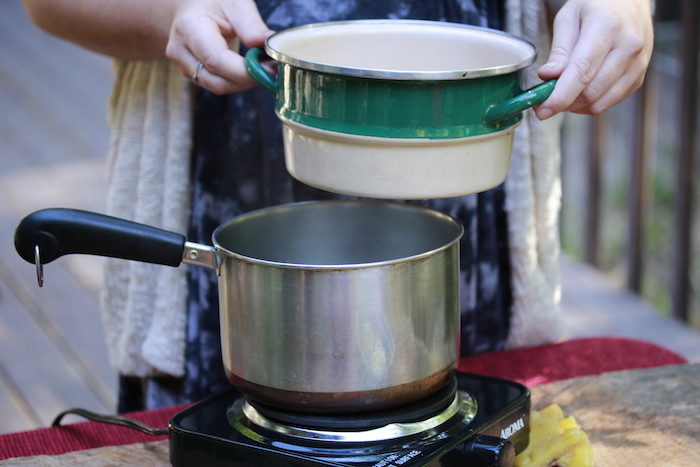
3. A double boiler has a top pot that fits into a bottom pot. Put water in the bottom pot; put the top pot on the pot with water in it and bring the water to a boil. (Say that 5 times!) If you don’t have a double boiler, just make one up. Put water in a pot and then put another pot that fits on top of the pot with the water in it.
4. Put the beeswax in the upper pot and melt it.
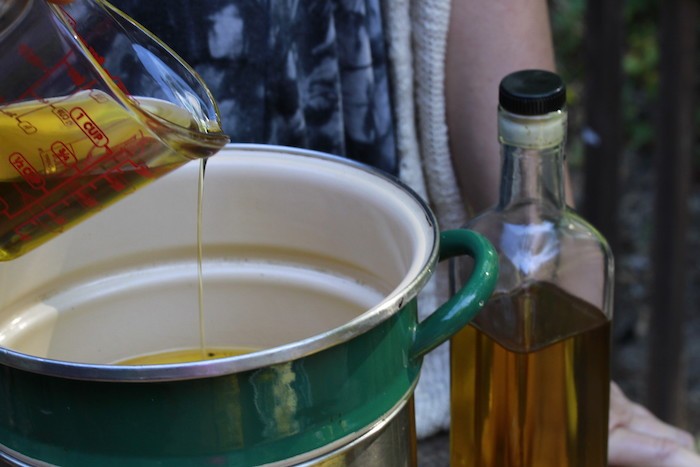
5. Slowly add the olive oil a little at a time until the oil and beeswax melt together.
6. Remove the pot from the heat as soon as everything is melted together. Make sure that you do not overheat the oil. The oil should never be too hot to put your finger into.
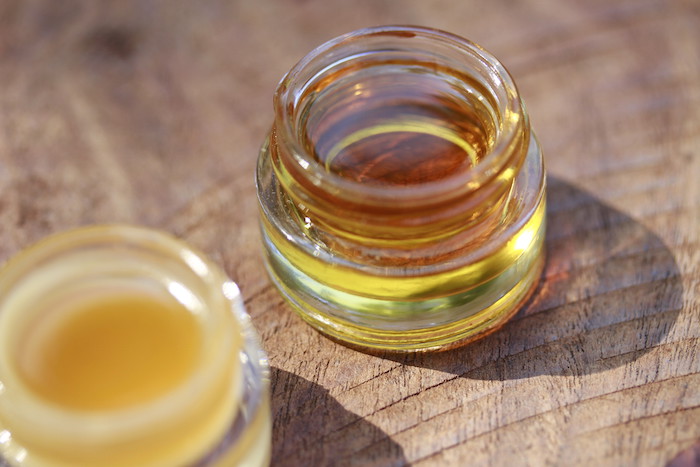
7. While the mixture is still hot, pour it from the pot into a measuring cup.
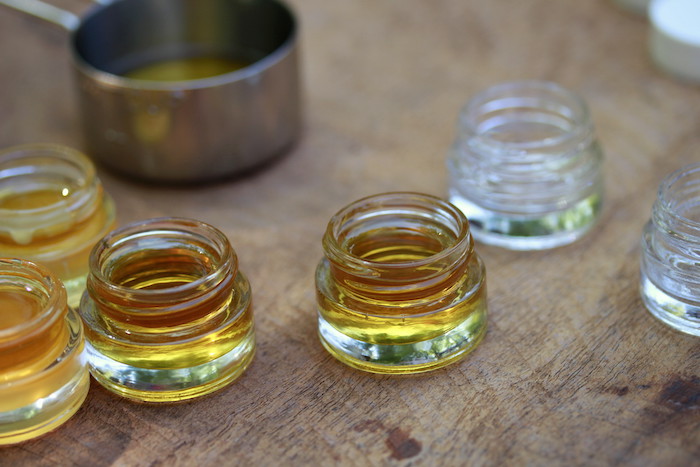
8. From the measuring cup, pour the mixture into salve containers.
9. After the salve begins to cool, but before it hardens, add lavender essential oil to the salve.
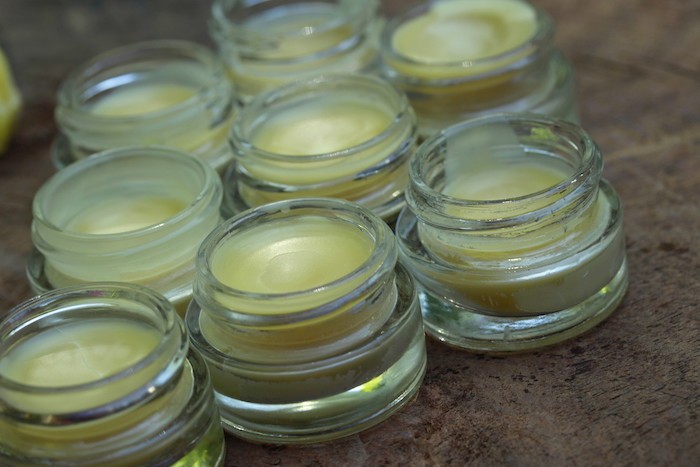
10. Let the salve jar sit on the counter until the salve has hardened, then put the lid on the container.
11. Take a moment to think about what you will use this healing skin salve for. Think about to whom you might give it and how it could help them. This is called adding love and best wishes to your salve. The extra added ingredient that heals. You can’t buy that in the store.
How Long Does Homemade Salve Last?
Store your homemade salve in a cool, dark place. It should last for about a year.
Enjoy your healing skin salve!

Thank you so much for sharing.
Could I incorporate honey into this salve? If so, how much?
I don’t use honey in my salves
Is this good for a face moisturizing lotion?
You could try it for that purpose. It is not a lotion consistency, though. It is very protective and would be good for someone who goes outside in cold, dry weather.
It’s the perfect for wind protection. I run it on the kids cheeks and lips before going out to play in the winter. I’d like to make it in a big chapstick size!
Hi Kami
How about using the infused oils in this recipe?
Thanks.
Sandy
Absolutely, herbal infused oils make the best salves!
I am allergic to flowers, most trees and grasses. Can you suggest something instead of lavender for this salve?
Elder flower is nice, rose petals or plantain leaf
I use salves everyday. I enjoy wildcrafting. I have made cottennwood salve, mixed herb healing salve, devils club salve and calendula salve. My infused evergreen oil is waiting for me. I have recently harvested some devils club root to infuse. I really enjoy learning about herb and their uses.
Hi. Can I substitute sweet almond or grapeseed oil instead of olive oil?
Yes! you can use any carrier oil that you like
love the containers, where do you purchase them? Thank you!!
HI Anwyn,
You can check my herbal supply list that i have here, great resources: https://kamimcbride.com/medicine-making-resources/
I like what I read when I scrolled down . Wonderful stuff, can’t wait to get creative.
Hi Kami
Love your blog and thank you for this lovely recipe..will definitely make some for my family. Regards from Australia
What else can we add other than lavender? I remember my grandmother used to make this salve but she used to put grated ground nutmeg in it
There are so many oils you can use. It really depends on what you have on hand and have access to. I love making salve with calendula, plantain, St. John’s wort….
Can this salve also be used for baby eczema?
the olive oil and beeswax are very gentle and save enough for baby skin
Can this salve be used for teen acne?
Yes, when the acne is in the drying stage. I don’t usually use oil base applications when the acne is just starting, at that stage i like to dry it out first
Hi I am a dialysis patient we tend to have itchy skin due to high phosphorus levels. The itching at times can run a person nuts some of scratch so much we damage our skin so Im always looking for anything natural to sooth the itching and also heal the skin, do you think this would be good for that?
Hi Jeanette, Yes, this salve can be very helpful for itchy skin!
[…] skin feel so fresh and new. To find the recipe and try it for yourself, just check it out here on LivingAwareness.com! She has a bunch of awesome herbal recipes as well that will definitely rock your […]
I just need some beeswax, and ready to make my own salve! So simple the recipe and so healing!!
[…] How To Make A Super Healing Skin Salve […]
[…] How To Make A Super Healing Skin Salve […]
Sounds good I must try it. Thank you!
I always wanted to order the essential oils, and also the pomegranate seed oil from Mountain Rose Herbs, is very hard to get in Toronto nobody carries the pomegranate seed oil in Toronto I’ve try every health food stores. But you don’t deliver in Toronto I wish you did.
Thank you for your comment!
I think the best way to find the pomegranate seed oil that you can get in or delivered to Toronto is to contact Mountain Rose Herbs and they should be able to send you in the right direction! Here is their contact page: https://www.mountainroseherbs.com/about/contact
Thank you for this recipe! I love making balms and salves and this is a nice addition to my recipe book.
I’m just starting to go herbal. I have celiac disease and you will be surprised where gluten hides (over the counter meds, prescriptions, toothpaste, cosmetics, etc) really looking forward to future blog posts.
Hi I like this recipe, but I have a question about the recipe. Is there a way I can substitute the beeswax with anything else?
Thank you!
HI Clementine, Mountain Rose Herbs has many waxes available that you can use instead, here is the list: https://www.mountainroseherbs.com/catalog/ingredients/waxes
[…] 1. How to Make Healing Skin Salve from Living Awareness […]
Love your blog, Kami!
Leah, thank you!!
I’m going to try my hand at making this salve. I’m new at this but have been itching (pun intended) to learn the “how to make” process. Thank you Kami for sharing your recipe and method!
I know, it is so generous of Mountain Rose Herbs to provide the ingredients for this healing salve, thank you Mountain Rose!
New to making my own natural products. I think this is a wonderful recipe. Would love to win this giveaway, so I have all the things I would need to make up a batch of salve. Thanks for the opportunity… my fingers are crossed.
Love herbal salves. Can’t wait to try this!
It’s always a great feeling to be able to care for yourself with natural items that you make for yourself and know you can trust them.
Lovely pictures, inspired to make some salve! Tallow would be a great addition I think.
I have planned to make a good healing/nourishing salve… This is a timely post and giveaway :~)
i am going to make it and know will be delighted to usde
Would love to learn new herbal recipes. And the supplies would be a bonus!
As a newbie, it’s great to find simple recipes to learn with, and then build on and customize. Thank you!
This recipe would be amazing with Manuka Oil in it as well. Great antibacterial oil. I keep that as well as Manuka honey in the house all the time!
Thank you for the recipe! Can’t wait to check out the rest of your blog, thanks for sharing!!
Would love to make some healing salve!
Looks easy. Cannot wait to try it!
Kami I have another question that I think would be of benefit for others that are interested in experimenting with salves.
are there any healing herbs that should not be combined?
Hi Sherry, that is a good question. actually a big one!. I think the place to start with that is begin with what you know. Any healing herbs includes hundreds of plants! I always tell my students to start with a few plants, get to know those plants really well. Once you understand one plant, you know if it belongs in a salve or not. Then you just keep learning about as many plants as you are attracted to. Some herbs are not really for salve making, for instance, elderberry doesn’t go into a salve, but elder flowers do…. some… Read more »
Thank you Kami.
I am trying to learn more out of necessity as I have such and issue with preservatives and artificial colorings.
is there anything you should not combine together in the herbs?
Thanks I have been experimenting to with salves and yours is a simple one to make, my thing for doing them though as with my kids we go through a lot: I infuse herbs into the olive oil for about a week then strain it and put in dark jar so I can quickly make up just about any combination that I want as needed.
my kids favorite is done with plantain, candula,heal all, then add in essential oil, sometimes I use the lavender and some times I use tea tree oil. Am I adding to much into it?
Sherry O,
No, that salve sounds perfect, sounds like you have some good little home remedy makers at your house!
I have VERY dry skin. I am 61 years old and I always have! Noiw it is getting worse. I am anxious to try this!
Love salve. Beautiful post and I love the jars!
I am super excited to try this! I am slightly (way more than slightly, actually) addicted to Chapstick so I’ve been looking for an all natural alternative. I think this will work. Thanks!!
I am in desperate need of salve, I have the worse skin around my fingernails. Currently I’m just rubbing almond oil into the cuticles.
i am so excited to read this book! I love salve and my kids do too!
Good you got your kids in on it! They benefit so much from making and using salve!!
Would love to try this!
Looks very easy
Great recipe and blog thank you
Love all the information, beautifully set up!